


Call: 0203 488 1889
Address:
Office 7, 35/37 Ludgate Hill
London, EC4M 7JN
Air Conditioning & Refrigeration Blogs
Expert Insights, Maintenance Tips, and the lates updates on Air Conditioning & Refrigeration.

Ice Machine Cleaning Schedule: Simple Weekly, Monthly And Quarterly Tasks Running a bar, cafe or…
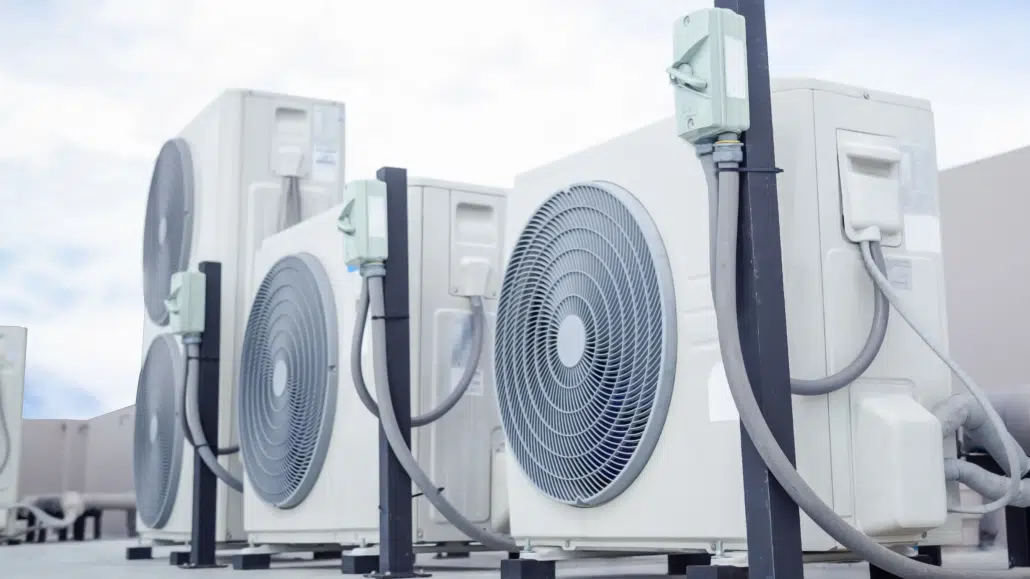
Enhance Climate Control with Advanced VRF Air Conditioning Variable Refrigerant Flow (VRF) air conditioning offers…
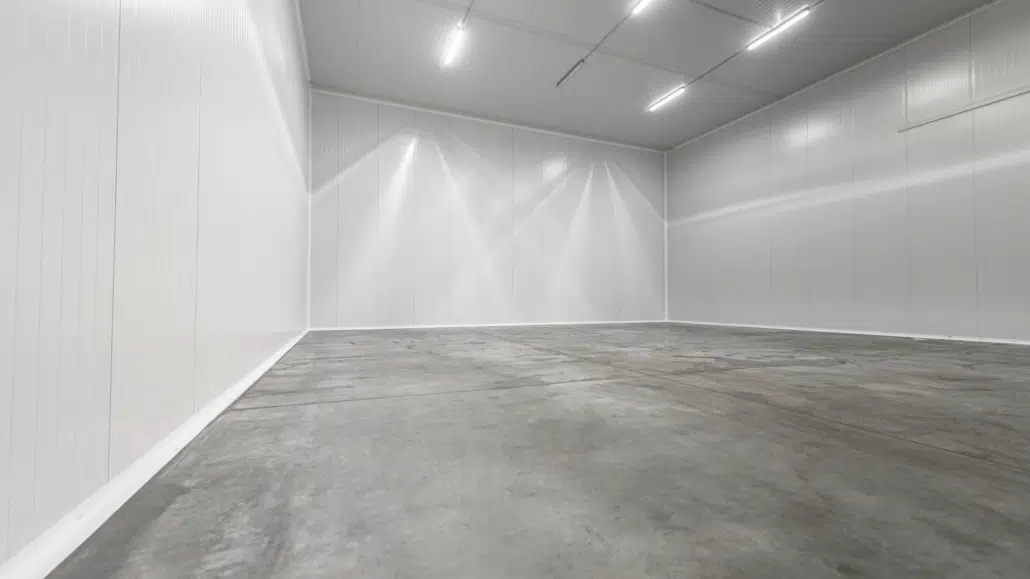
Top 20 Cold Room Manufacturers in the UK (2025 Update) Whether you’re running a restaurant,…
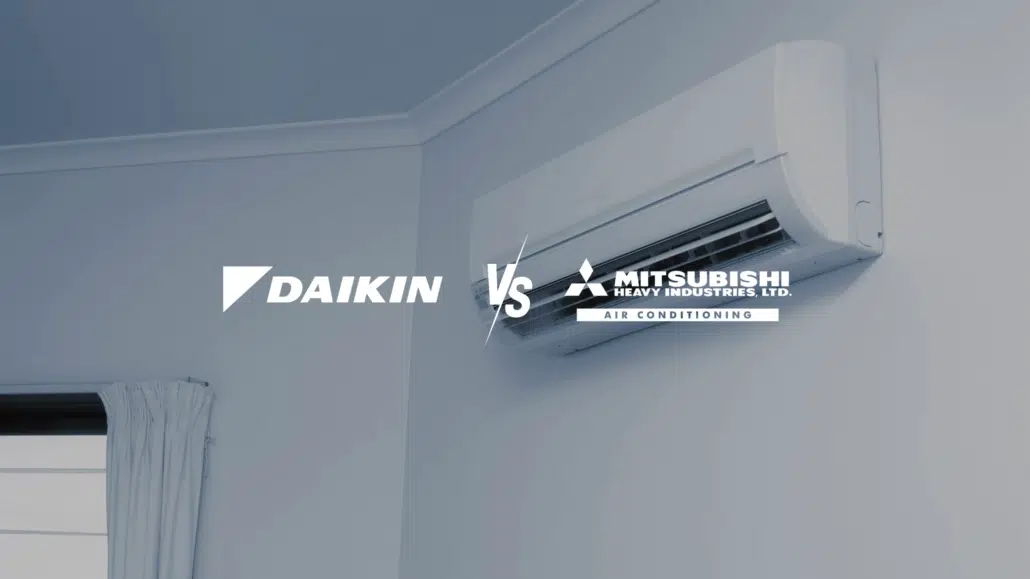
Daikin vs Mitsubishi – the 2025 UK Buyer’s Guide A Be Cool Refrigeration deep‑dive Why…

Inverter vs Non-Inverter AC: Your Friendly Guide to Smarter Cooling Choosing the right air conditioner…
Address:
Office 7, 35/37 Ludgate Hill
London, EC4M 7JN
Expert Insights, Maintenance Tips, and the lates updates on Air Conditioning & Refrigeration.
